Whew, I thought this post would never get done!
I finished this bad boy over a week ago, but we were covered with heavy rain for five days, so natural light was scarce. When the sun finally came out, I was four and a half hours away in Charleston, S.C, for my grandmother's funeral. When I finally got back, it was overcast again, so I had to settle for these pictures. Just know, in natural light conditions during the day, this hallway looks a lot better.
So, remember me talking about the alcove at the end of our back hallway?
Well I really, really wanted to do a herringbone pattern in that alcove. I thought it would add some flair to an otherwise plain hallway.
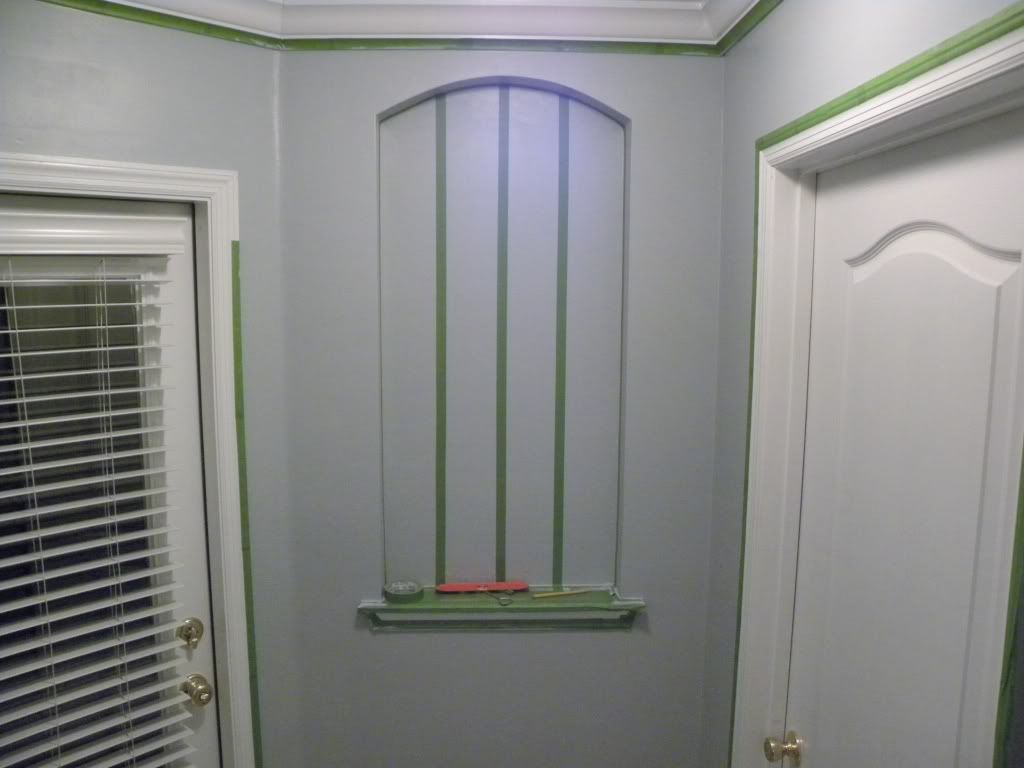
Measuring the lines and keeping them straight was a challenge. I actually ended up having Mr. Cheddar do it, since math isn't my thing. And our leveler is that short red thing you see on the ledge! It's a miracle these came out straight.

I measured and marked every three inches down the tape, then angled the tape from one notch down to the next. Mr. Cheddar was talking about using the diagonal leveler on our little tool but I was determined not to let it be that complicated.

The only clear image I had in my head was that I wanted the middle design to be pointing down.

So pretty! I should've just left the green tape up and called it a day, huh?
By the way, even though it was around 1AM when I did this, it was STILL storming.
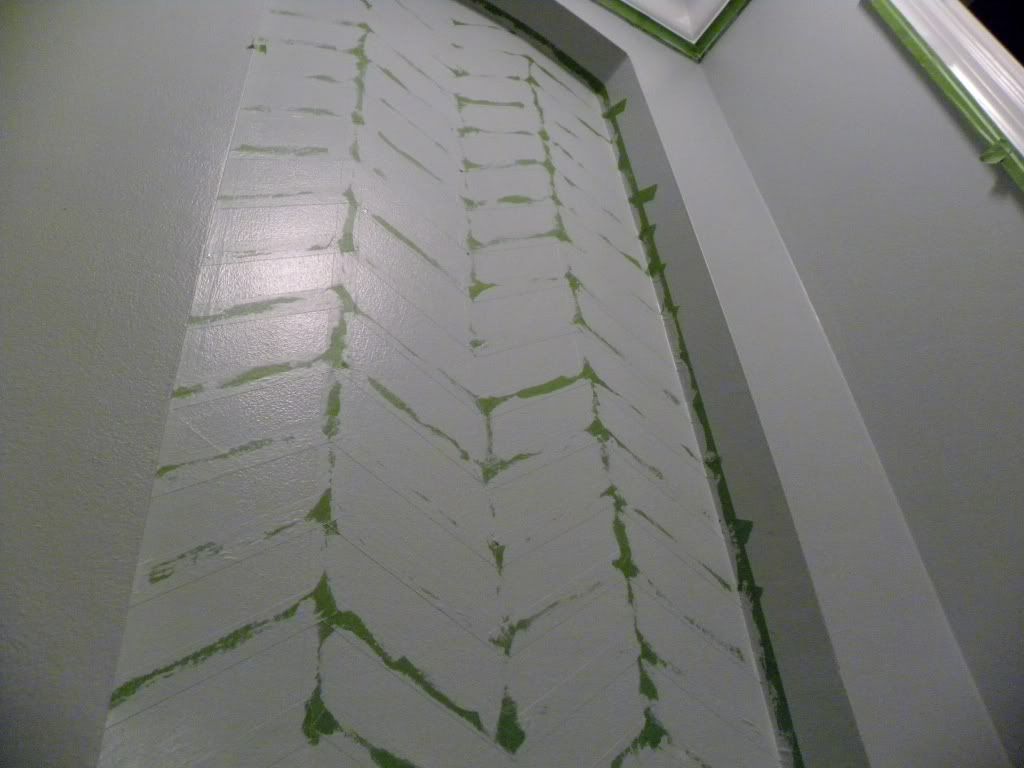
All of the design and DIY blogs I read that talked about painting with taped patterns or stripes talked about the problem with bleeding. Apparently, though it is magical, even Frog Tape isn't impervious to leaks. There were tons of suggestions, ranging from "use a credit card to make sure the tape is tightly adhered to the wall!" to "use a clear gloss along the edges to create a seal."
I'm all about efficiency and cheapness, so I liked what some people suggested about using the original paint color to create a seal. The idea here is that the gray will seep into any air pockets or nooks that I might have missed. Luckily I had just enough paint at the bottom of the can to do this.
I let that dry overnight, then woke up to yet another rainy day.
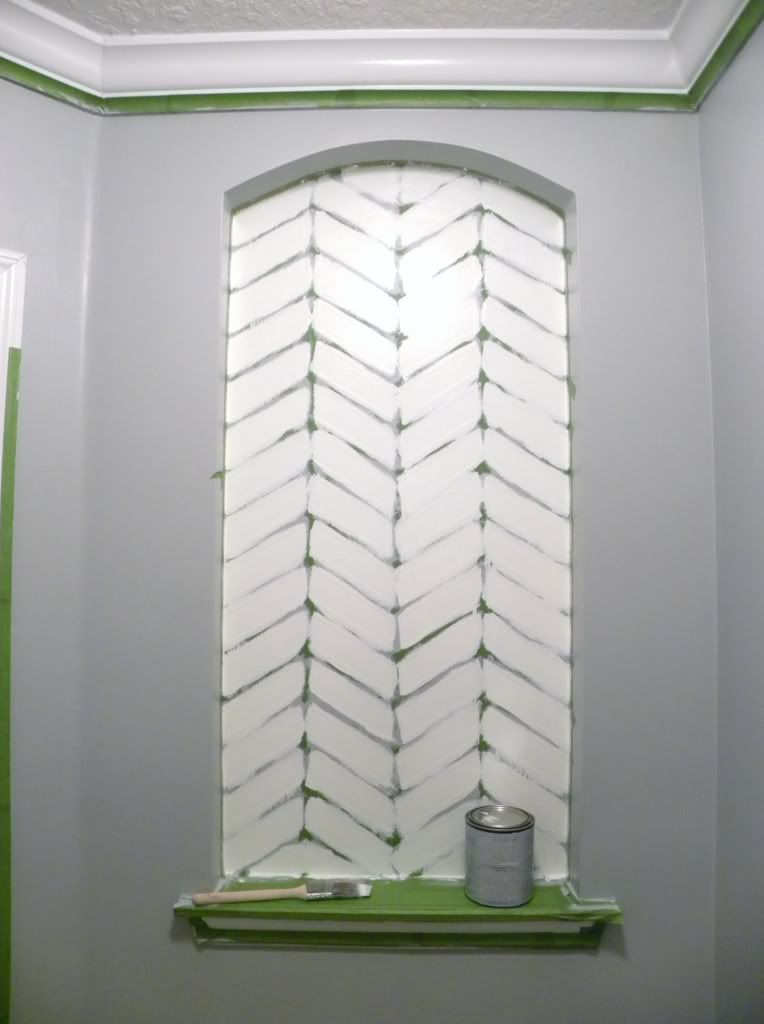
I got a small can of Valspar High Gloss paint in Subway Tile. Apparently my love for subway tile in houses even extends to paint colors! I did three coats of this to get it evenly covered, and I only let the third coat dry for about five minutes before I started peeling the tape.

You can sorta see the rainy day through the back door.
I also had an audience.
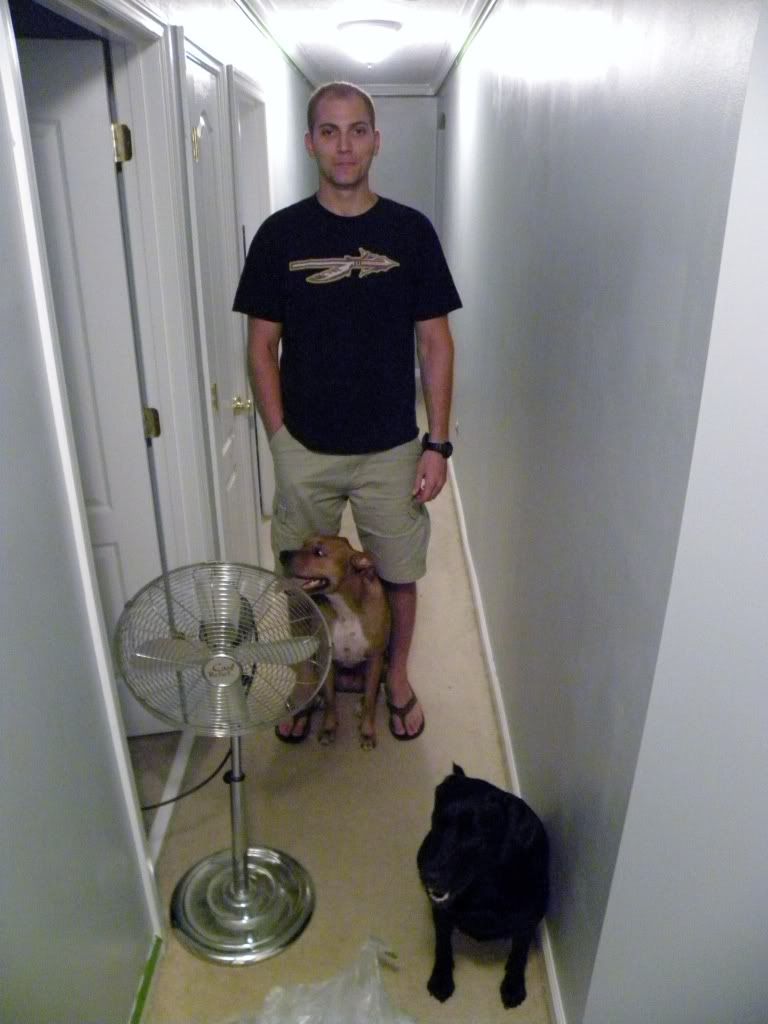
Mr. Cheddar was pretty excited to see the finished product (he quickly got bored when he realized how long the tape removal process would take). Parker is between his legs because he's terrified of thunderstorms. Lucy always follows one or both of us around the house, so since we were both in the hallway, she was there too. And the fan is just the most nosy appliance we own, he had no business being there other than unabashed curiosity.
But as the storm grew worse (we had a flash flood warning and a severe thunderstorm warning that night) the tape finally came off with minor peeling around the edges. It's because the paint was so thick in some places and because high-gloss is just clingy.
But it still resulted in something pretty spectacular:

It just pops at the end of the hallway. The eye is drawn to it.
This picture was taken over a week later due to the storms, so a lot of people got to see it in person before I got around to blogging it. Most of them have politely said, "It looks nice." But I love it, and I'm glad to know just how much work will go into doing this sort of pattern when I do it in my next house--because I plan to. I plan to do an entire wall in a larger version of herringbone, just because I think it's fun.
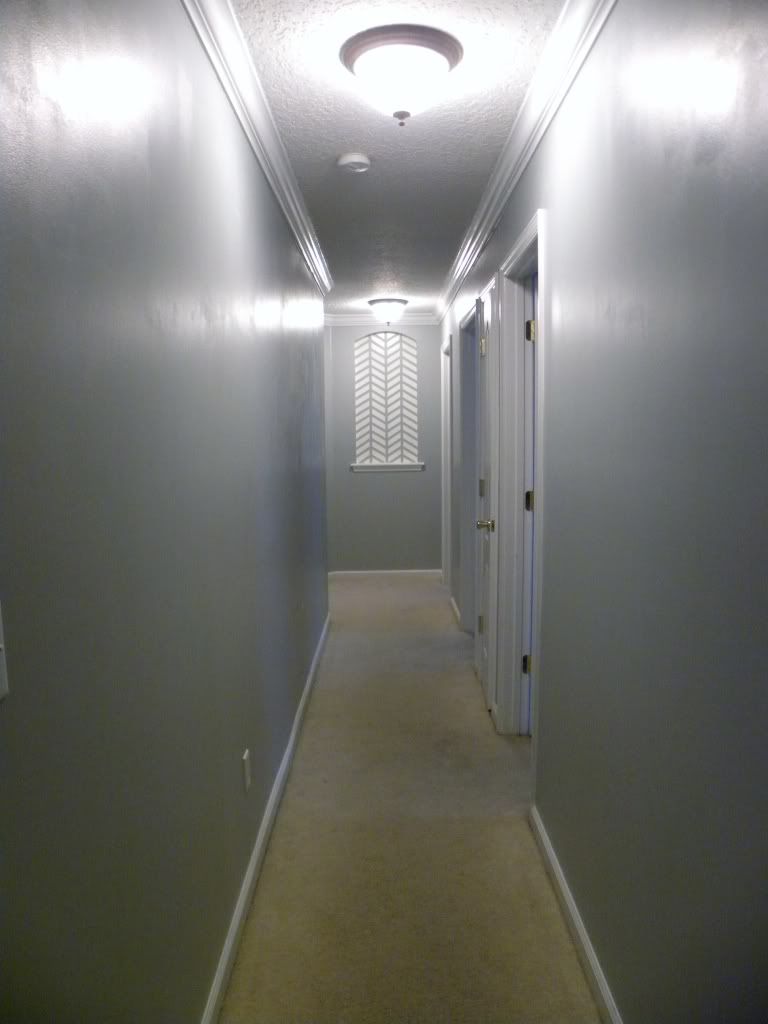
So that's the back hallway finished. What do you think?
No comments:
Post a Comment