What better way to kick off a home improvement/DIY/cooking blog with a painting project! Better yet, we're kicking it off with a painting project that seemed like it should be simple, but it wasn't!
Our guest bathroom doubles as mine and Hubs' main bathroom because of our complicated living situation. It's hard enough to keep it clean for guests, but my two-day paint job stretched into a five-day paint job, and that made it pretty darn impossible. It ended up taking more time than I planned because we live in a rental, which has very gorgeous, deep, expensive paint that was unceremoniously slapped onto the walls. The trim was a mess. And I learned that when the trim needs to get re-touched, you should do the trim FIRST, let it dry for a day, then tape it up and move on with your real painting job.
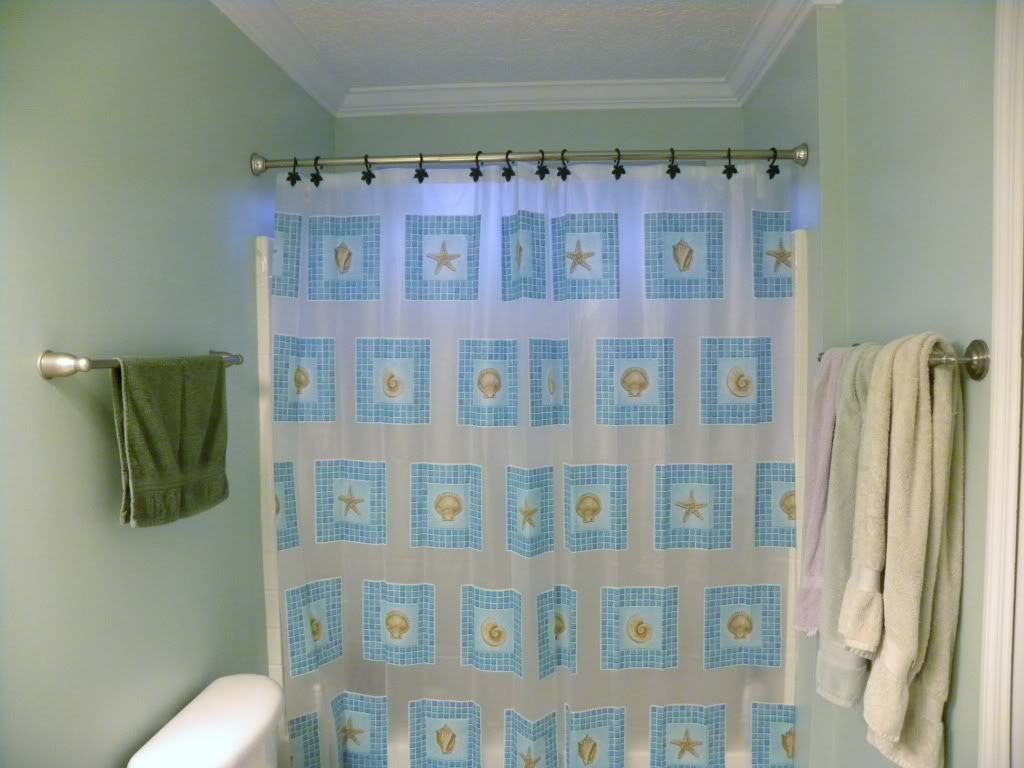
But it's done now, and without further ado, I present a side-by-side representation!

TELL ME YOU LOVE IT. Wait, I don't care, because I LOVE IT! The tile on the floor is a sandy beige, and our hastily-bought Wal-Mart shower curtain has seashells on it, so Hubs is already running off with this coastal/beach theme.
Hubs was pretty wary of anything darker than white after how oppressive this bathroom felt with the dark green, and it took a lot of convincing to even get him up to real colors instead of white-with-a-hint-of-blue types. Finally, we settled on:
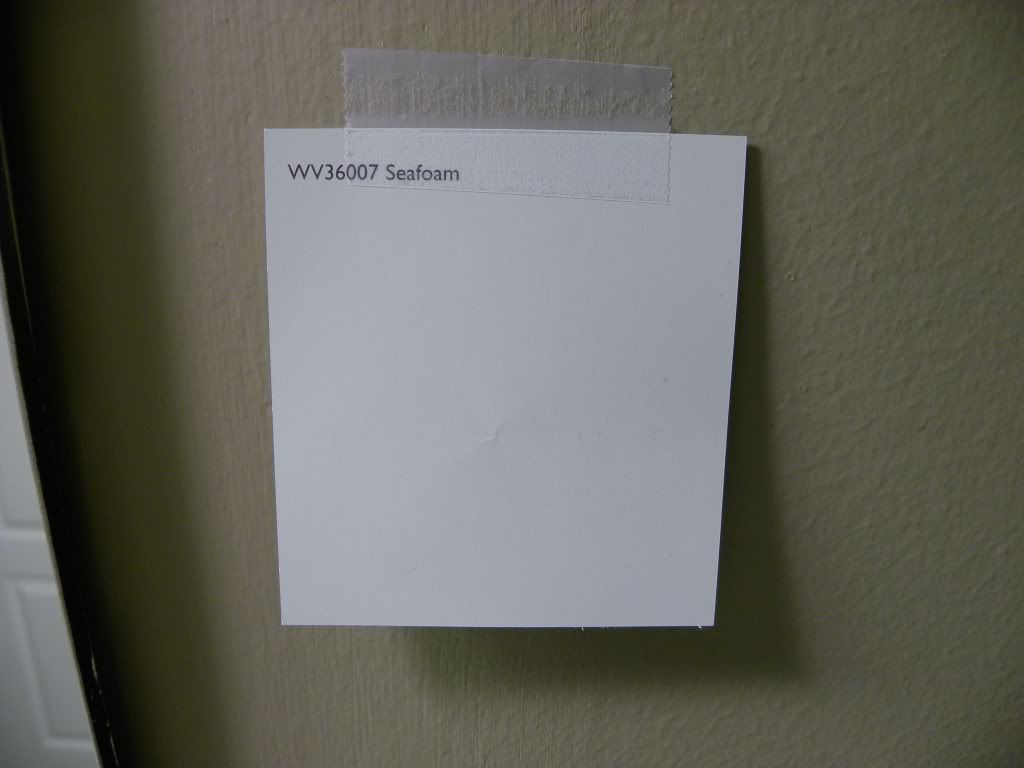
Seafoam! We liked the compromise of it being blue-green; early in the morning, this bathroom really looks blue. I love colors that do that.
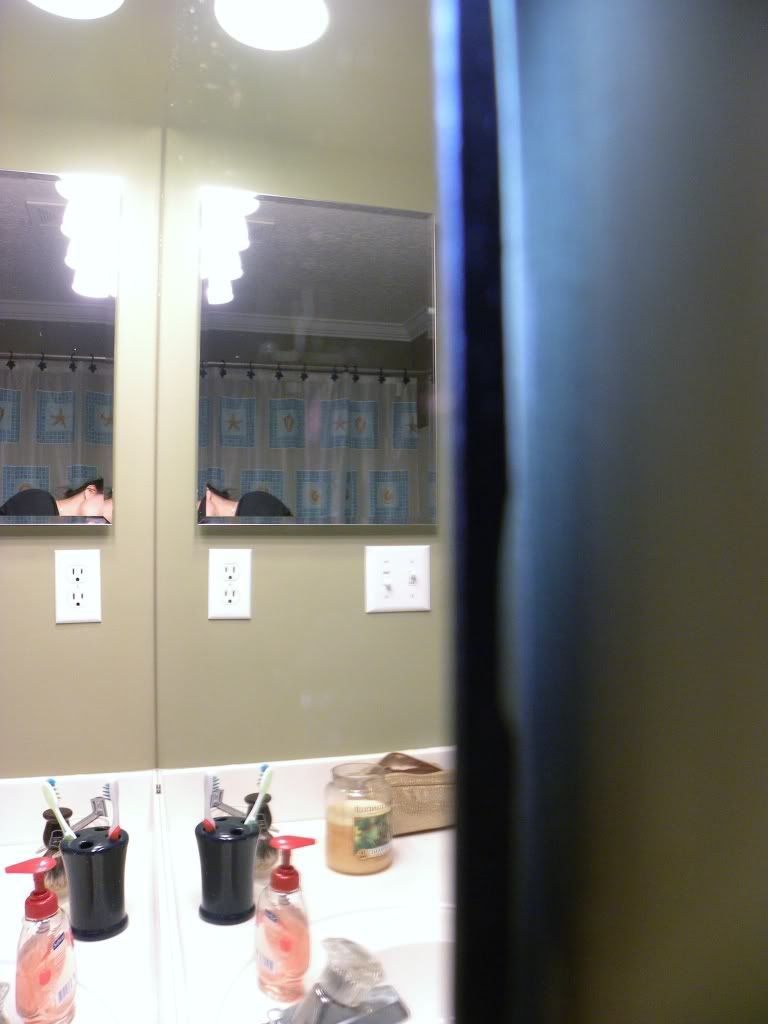
Our first order of business was to take off the huge vanity mirror. I was researching how to do it online and coming across horror stories of homebuilders who had, like, krazy-glued the mirrors to the walls. People were talking about how they used piano wires and blow dryers and spackling knives and... after all that work, half the time the mirrors cracked! I was terrified that, despite the tiny little clips that seemed to be holding the mirror in place, our homebuilders had somehow arrived at the same solution. So, here I am trying to use my camera and a flashlight to see if there is adhesive on the back of the mirror:
Yeah it didn't work. Hubs finally came in, asked what I was doing, laughed at me, then started working on the clips at the top of the mirror. They pushed straight up, releasing the mirror, and HUZZAH! No crazy-super-gorilla-tacky-Elmers glue in sight! And then he effortlessly lifted it off the vanity and carried it into the spare bedroom! NO CRACKS! Which meant no tears for me!
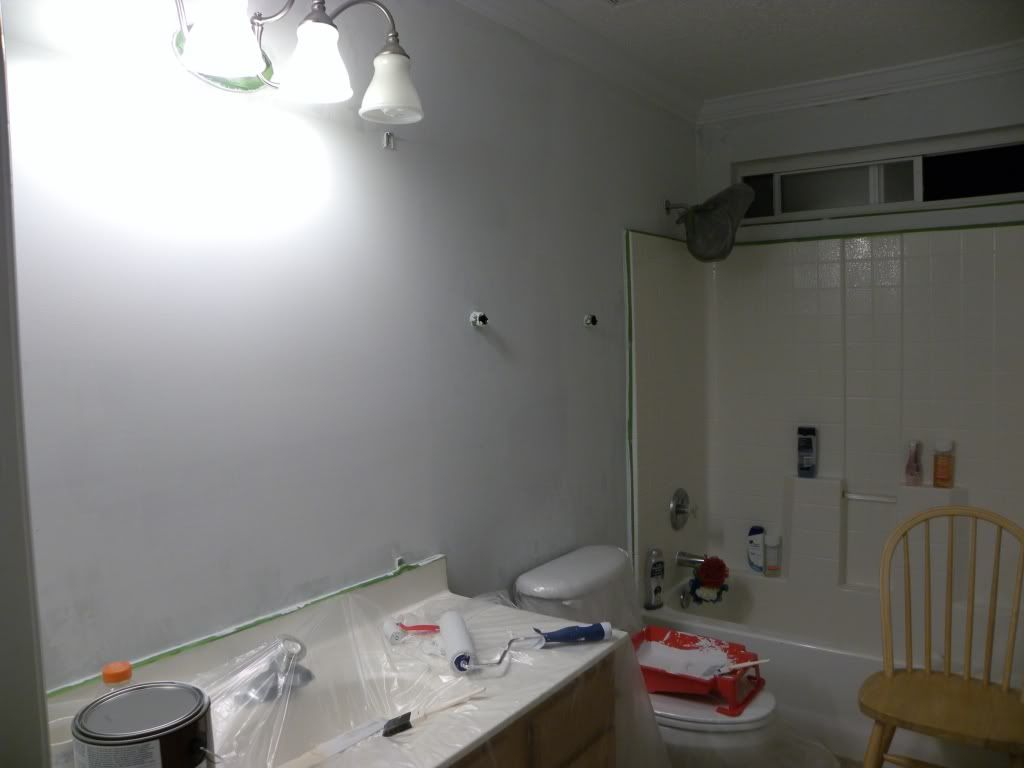
The bathroom instantly felt smaller without the mirror.
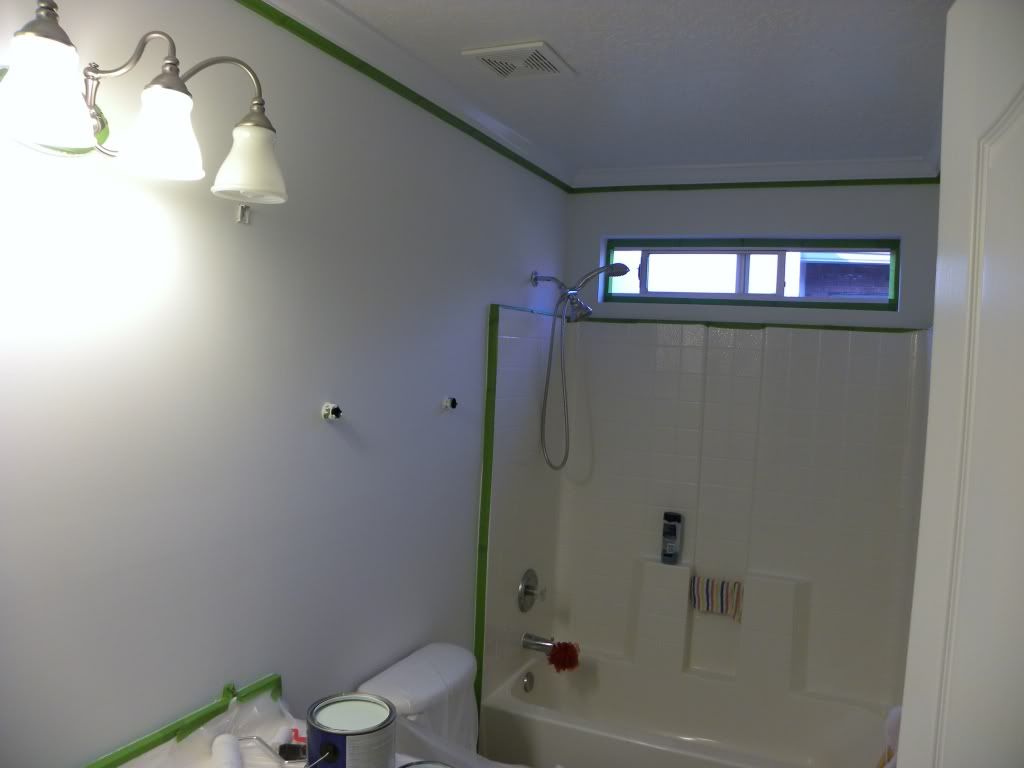
Then I taped off everything except the crown moulding, because unlike the time we turned the two bedrooms from Hot Pink to Not Insane, we were using primer first. And good thing, because we needed two coats of primer just to cover the green paint.
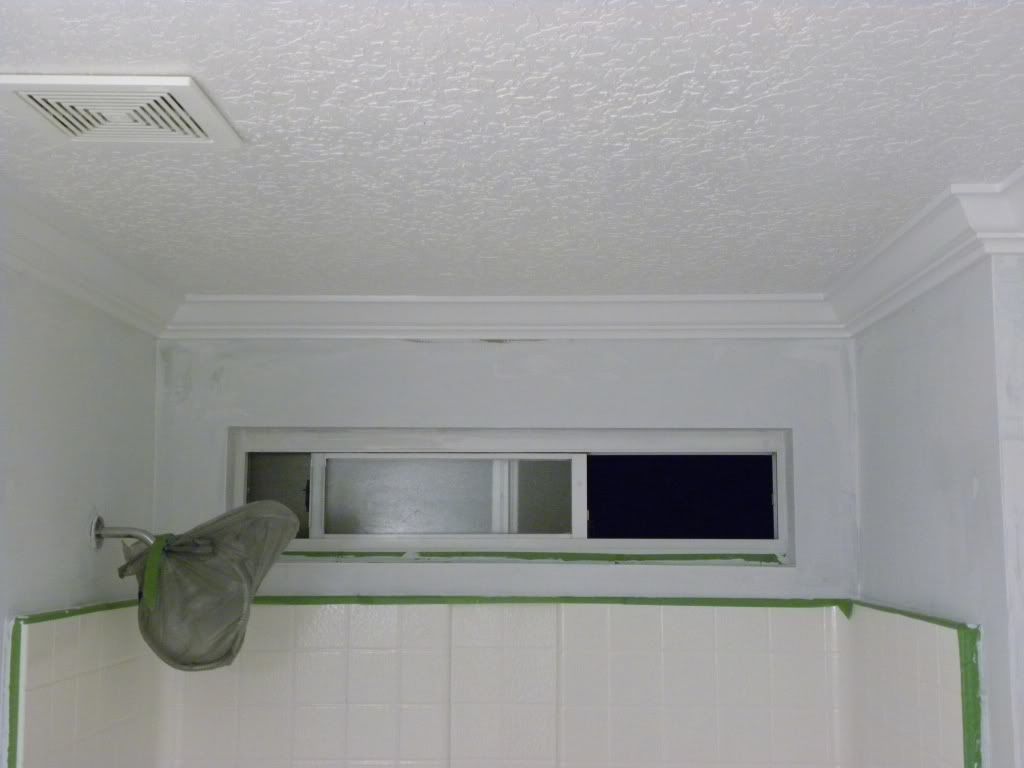
One coat of primer. Luckily it's the fast-dry stuff so I knocked out two coats in one night, and all without Hubs' help!
Two coats of primer after drying overnight! I also ripped off all the Frog Tape I'd used and re-taped everything. I'm a fricken genius for that, because our Seafoam was NOT GREAT at letting go of the Frog Tape, and two coats of primer would've made it worse.
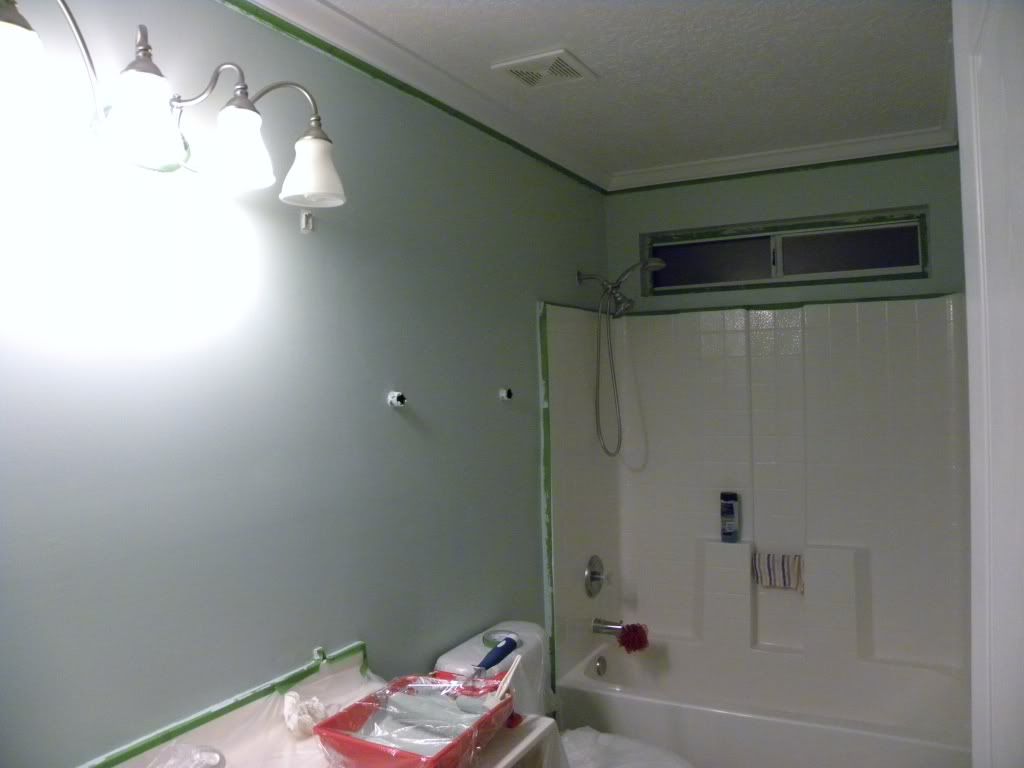
Two coats of Seafoam and it looks like we're in business! We're in the home stretch! We're nearly there! It's been two days, time to take off the Frog Tape!
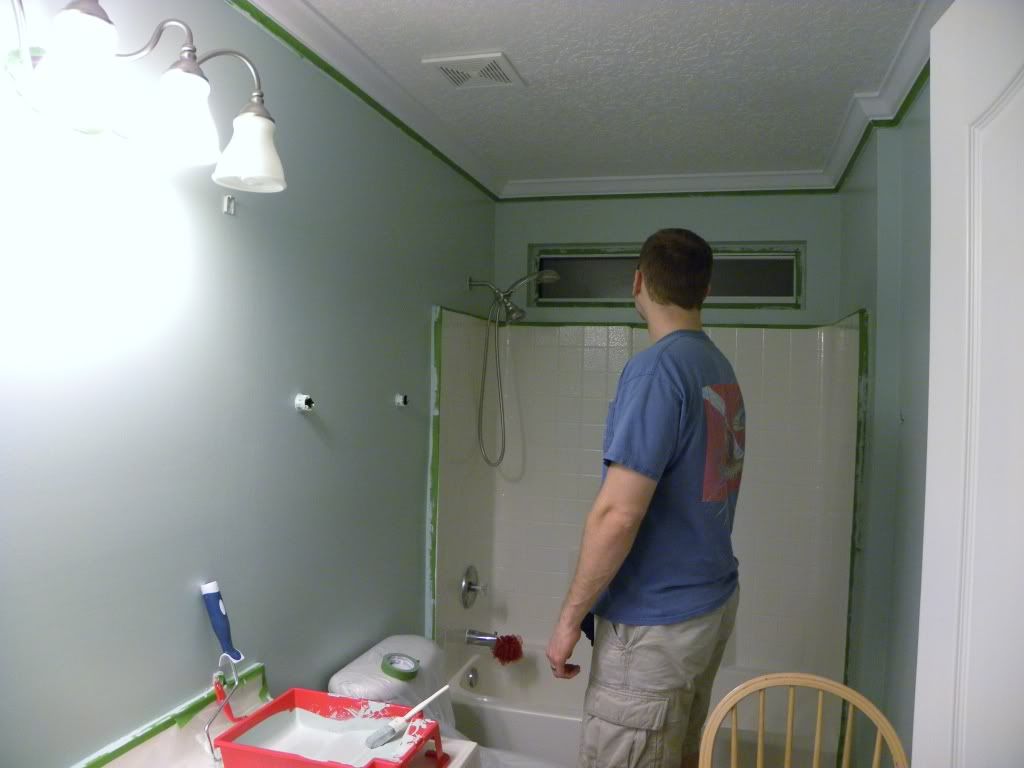
He was there to help with this part of the painting. He was in charge of the Big Roller and of Reaching High Places. Also the mirror. And complaining about not getting to shower. That was about it--the rest was all me.
The plan was to take down the Frog Tape, then touch up the trim with the trim paint we had from the property owner, buuuut, things went horribly awry. First of all, like I said above, Seafoam was pretty clingy. On the corner of the linen closet in the above picture, the Frog Tape ripped off a huge chunk of Seafoam. It happened in a bunch of other places despite having ample drying time. Secondly, touching up the trim was no bueno. You just have to all-out re-paint the trim.
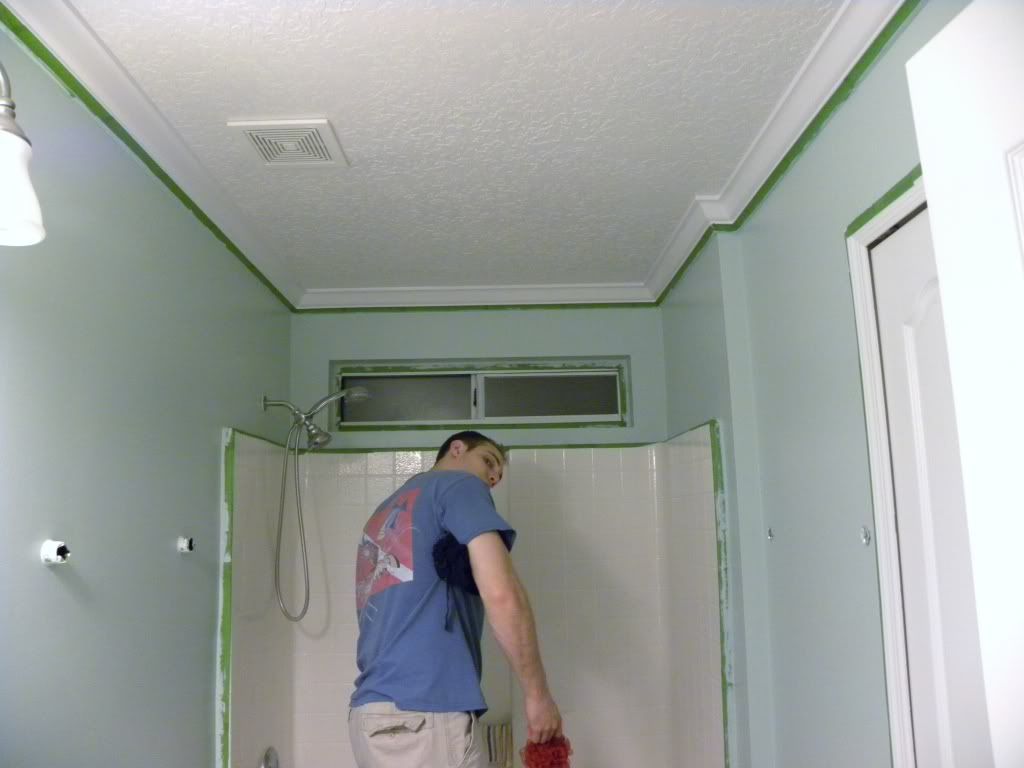
So to recap: I had to paint the trim, which bled onto the freshly-painted Seafoam, then I had to let that dry for 24-48 hrs so that it could be taped again, then I had to tape again and re-touch the Seafoam where it was either white from being ripped off the wall or white from being painted from the trim. Then it had to dry again.
This was all while I was battling Extreme Fatigue for reasons unrelated to inhaling paint fumes. I think. Maybe the paint fumes played a role.
But when I was finally done being a painting doofus and being really tired, all of the tape was gone, the garbage was collected and disposed of, the bathroom was scrubbed clean, the mirror, towel racks, and shower curtain replaced, we had:
Taaaa-daaaaa!
Hubs has already selected a print of sand dunes to hang above the towel rack on the right. I think that's about the extent of how we're going to decorate, because it's not really our bathroom anyway. Hubs loves it, every time he goes in there he says, "I really like this color!"
You're welcome, babe.
What a nice job you did! In my Oklahoma home, we have a sea themed guest room and guest bath. The bath is done in what I often call Angry Ocean. It is a little dark as if a storm is brewing, but gives the white of the fixtures and base boards a real punch. The bedroom is done in ships (love anything re: Titanic), starfish and lighthouses. Give Hubs a pat on the back for going outside the white box.
ReplyDelete