As I was putting the finishing touches on the guest room, we learned that my dad had to take an impromptu trip to Tampa on Monday and would be gone for two, possibly three days.
My mum and I both perked up: That would be the perfect time to paint the family room!
Allow me to explain:
1) My dad's job takes him out of town for upwards of 200 days a year. We were hoping he would get sent out while I was living here so that we could get this project done, but instead he was "sent" right here to Jacksonville.
2) My dad is the sort of person who loves his routines. I get that from him, but not as severely. His main routine consists of coming into the family room after dinner, sitting in his recliner, and watching his flatscreen (usually Frasier or Cheers reruns) until he falls asleep. Then he goes to bed. Disrupting this routine, even for a couple of days, would result in a very grumpy father.
Also:
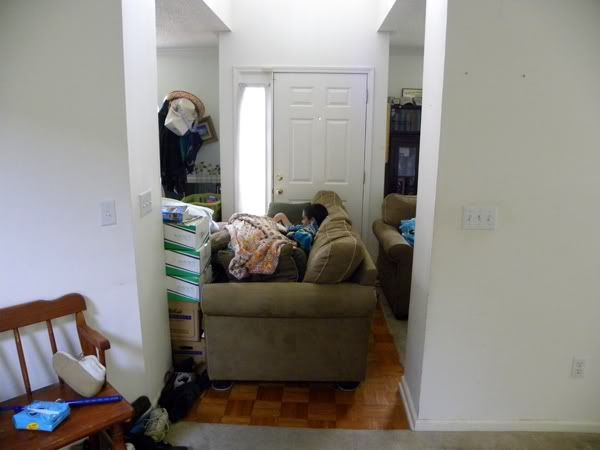
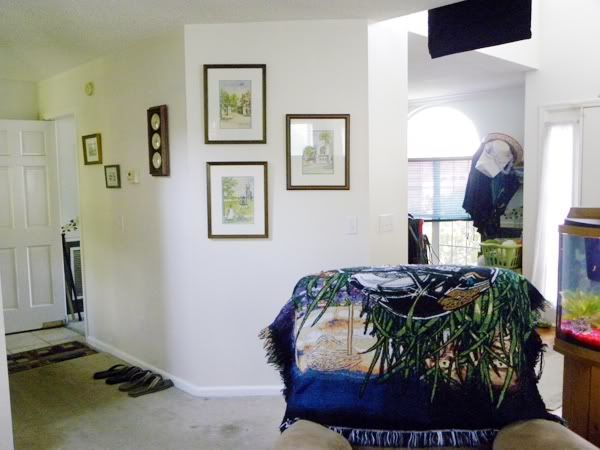
That's our couch... in our foyer.
And our loveseat in our living room. That's pretty disruptive too (despite how much my brother loved climbing all over the furniture like a monkey) so it was best to do this when my dad was gone.
I started cleaning up the family room on Sunday night, which is why there are no proper "before" pictures of this project. But it was a fair tradeoff, it went a long way toward being paint-ready on Monday morning.
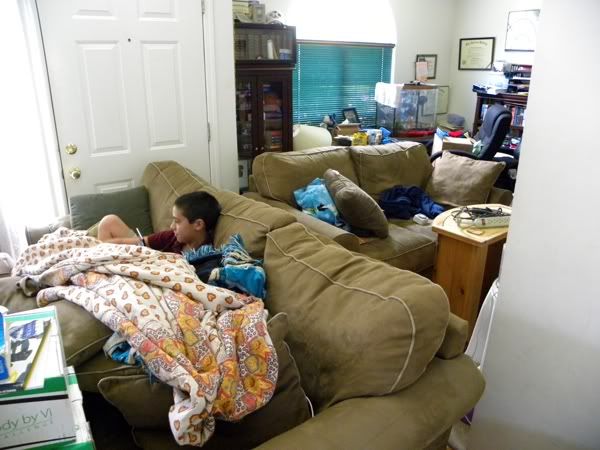
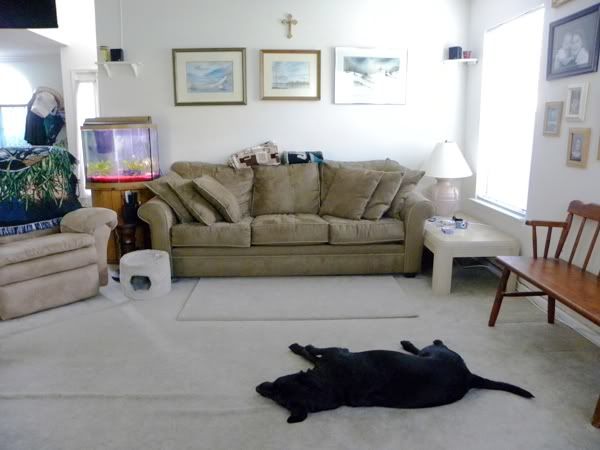
So these are the pictures I took Monday morning, before we'd gotten everything out of the room. The dogs were still roaming around and Mum was still catching up on Hell's Kitchen as she was moving things.
In case you're wondering...
Lucy was chewing on a bone...
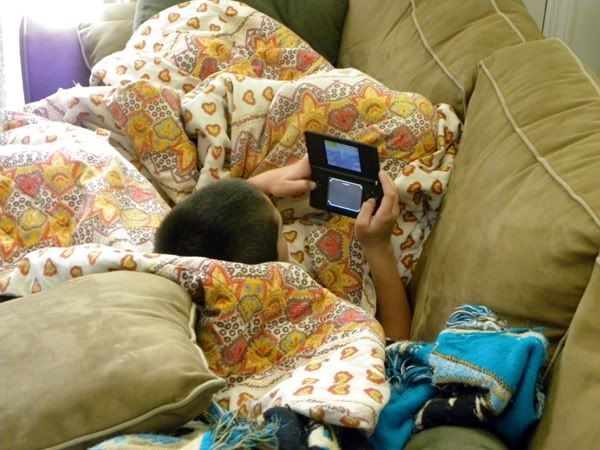
Shane was playing his DS in his furniture fort...
and Kara was still in bed, thus not pictured.

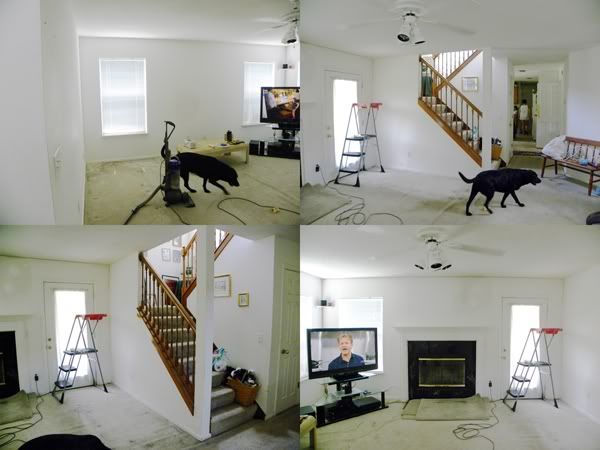
Eventually, everything was off the walls, the junk was out of the room, and the remaining furniture was moved to the center.
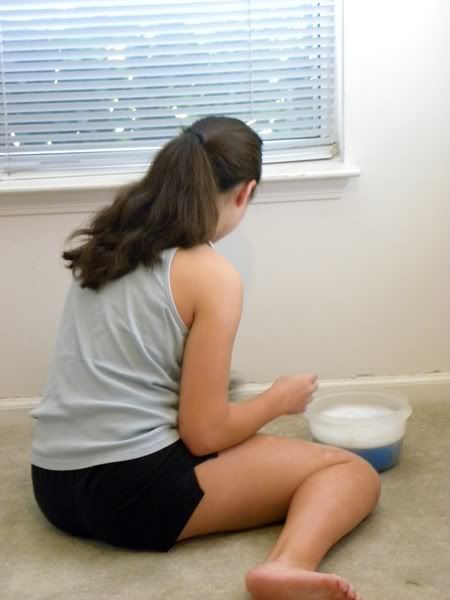
Kara was given the unenviable task of washing the walls and the baseboard. And she did it like a rockstar.

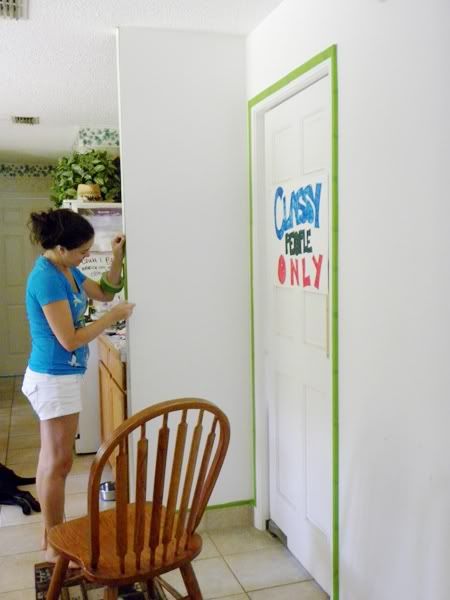
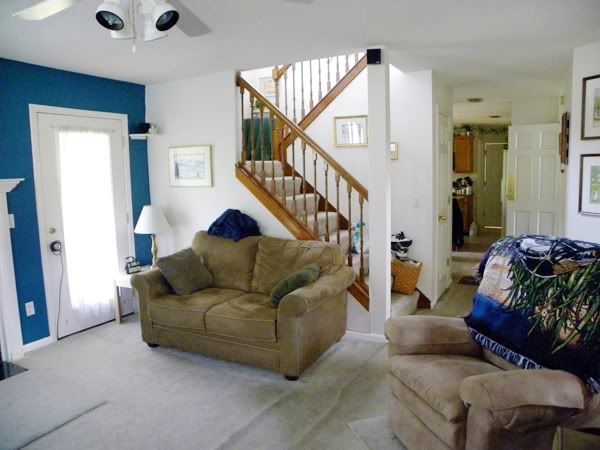
We weren't just painting the living room, though. We were painting the hallway, too, all the way to the foyer and into the kitchen.
Update: Twitter has alerted me to the fact that I forgot to explain this "Classy People Only" poster on the back of the butler door. Last year, Kara won "Most Classy" of her seventh grade class. We thought it was hilarious (and also, a pretty freaking awesome thing to be ~known for~ in the seventh grade, we think it's because she has good style and is a ballroom dancer) so we decided to throw her a Classy People Only party. We all dressed up (even Shane) and drank orange juice out of stemware and ate "classy" foods with our pinkies up. The poster is still up because that door is open 99.9% of the time.
Update: Twitter has alerted me to the fact that I forgot to explain this "Classy People Only" poster on the back of the butler door. Last year, Kara won "Most Classy" of her seventh grade class. We thought it was hilarious (and also, a pretty freaking awesome thing to be ~known for~ in the seventh grade, we think it's because she has good style and is a ballroom dancer) so we decided to throw her a Classy People Only party. We all dressed up (even Shane) and drank orange juice out of stemware and ate "classy" foods with our pinkies up. The poster is still up because that door is open 99.9% of the time.
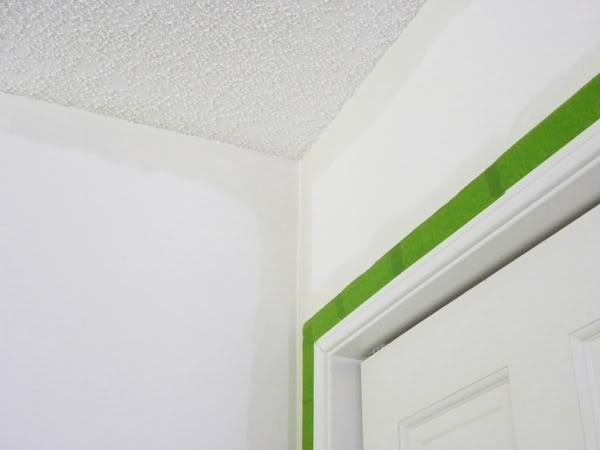
Where I'm taping in this photo is where the paint will stop. That flat part of the wall is where my mum has kept height measurements of her kids over the years (as well as two marks for Mr. Cheddar and Brother Cheddar after they were fully grown), so we chose not to paint over it.

(A shot from the kitchen.)
The funny thing about this room wasn't the lack of ideas... it was the lack of decision making. This house is 19 years old, yet these white walls are original. Some of them got re-painted with basic white paint after my brother flooded the upstairs bathroom, but otherwise, these walls are still the basic eggshell white that the building company slapped on the drywall.
That's crazy talk.
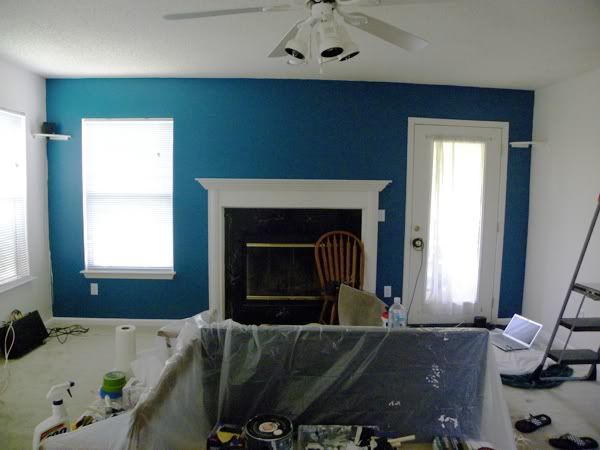
I've been making the case for at least five years to do a bold accent color on the wall with the fireplace. In January, when a pipe leak led to the wall above the fireplace needing to be cut open, it became clear that putting off a paint decision was no longer an option.
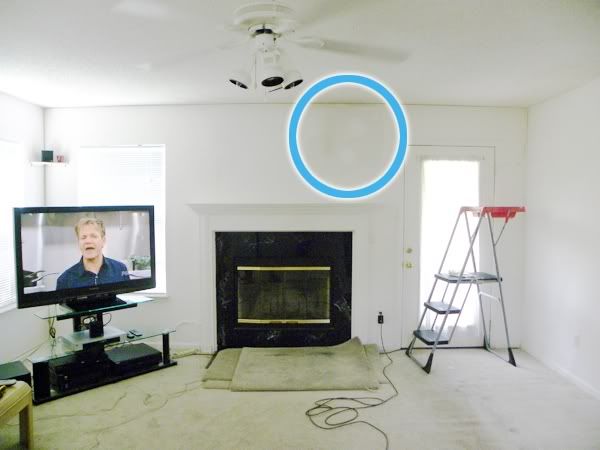
In real life, away from the flattering photo lens, it was quite an eyesore.
Before we even painted Shane's room, we came home with a color we were sure my dad would like, and we were right. (More on that later.) We also had a complementing white-gray color to paint the rest of the walls, preferring to keep the rest of the room bright and decidedly NOT beige.
I got started on cutting in on the wall in the kitchen. I was very excited about the new color, to the point that my mum probably thought I was a little crazy. I said, "This is awesome, I love this!" and she looked up at the wall and said, "... Okay. Cool."
That's because this is what she saw:
Admittedly, it wasn't that different. It still isn't different. Mr. Cheddar will walk into this room next week and won't even know the non-accent walls are a different color.
But that wasn't really the point of the white. What it actually accomplished was a rejuvenation of the walls--covering up those old scrapes, holes, dents, and pencil marks--while also making the walls more washable, since this is in a satin finish.
The color is Valspar's "Avenue," a signature color that we took to Home Depot, where a very friendly employee color-matched it to Behr's Paint-and-Primer-in-One in a satin finish.

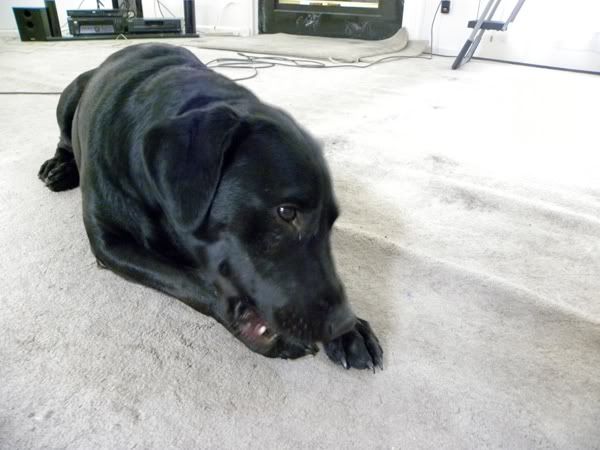
Lucy was locked in the new guest/entertainment room with my brother and Bear while we painted. She continually barked to be let out (Bear whined) and when she was finally released, she was VERY put out about her incarceration.
We continued to paint--me cutting in along the ceiling and baseboards, mum doing the rolling--until all the white walls were finished. We had my laptop downstairs, where my sister played her DVD of Monte Carlo while she painted the baseboards.
We lucked out. We were worried one can wasn't enough for this huge space, but after one coat, we still had half a can left... and one coat was plenty! This is the first time this has happened, no doubt because we were painting unfinished walls AND we were painting it, essentially, white, but it was still nice to do one coat and realize we could move on.
After a break, it was time to tackle the accent wall.

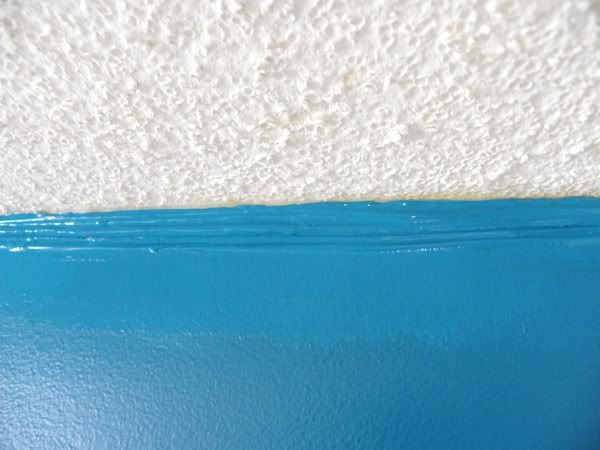
My sister snapped this picture of the paint when the can was first opened. Yikes! This is a dramatic example of the importance of mixing your paint before you start.


That's right! TEAL!
My dad has lots of love for our hometown NFL team. He's been a season ticket holder since 1993 (note: their inaugural game was in 1995) and records the games he can't attend in person. He has the 1999 playoff game against the Miami Dolphins (Dan Marino's last game) on VHS, and he watches it once a year.
He also happens to love our team colors, so when we brought the paint chip for Valspar's "Swizzle Stick" to him, he immediately said yes.
It was color matched to Behr's Paint-and-Primer-in-One in satin finish, just like the "Avenue."

I did the detail work for this one, too, while my mum and sister ran some errands.
(This is a better shot of the patched wall above the mantle too.)

Mum did the rolling again, and we ended up doing three coats to even things out.
I'll admit it, when I came downstairs the next morning, I was VERY happy with how it was looking.
But it turned out, the hard part was still ahead of us. More specifically, it was still ahead of ME.
Back when my parents first got surround sound, the entertainment center wasn't in the corner of the room, but along the side of the wall. When my dad got his new flatscreen, the TV moved to the corner, but the surround sound stayed the same. Since we had to take down the speakers and wires anyway, I told my dad I would re-wire everything to fit the room again.
So we bought new speakerwire, and I spent hours measuring out lengths, running them along the room, and stapling them up.
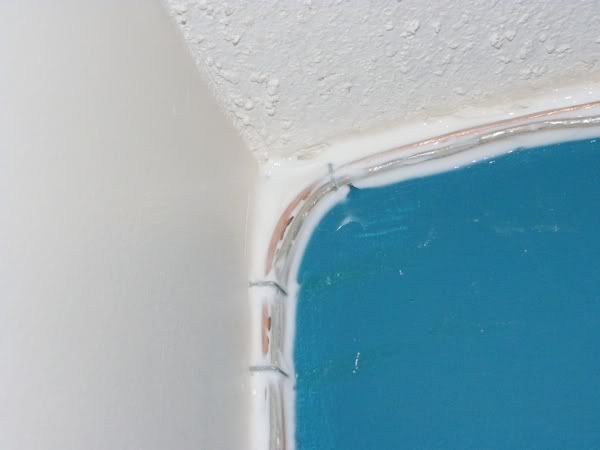
When the stapling was done, it was time to use the paintable caulk. Luckily we'd gotten the call from my dad that he wasn't going to make it home that day, so we bought an extra day of work.
Not only did I have caulk to paint, but I had hammer damage to cover up.

It wasn't a full-blown fiasco... more of a debacle. It took a lot longer than we anticipated or even wanted, and it wasn't as clean and perfect as we would've liked. But my dad had super-glued the old speaker wires to the corners and ceilings, leaving behind irreparable damage (our attempts at sanding it down resulted in torn sandpaper...) so putting up the wires again was our best option.
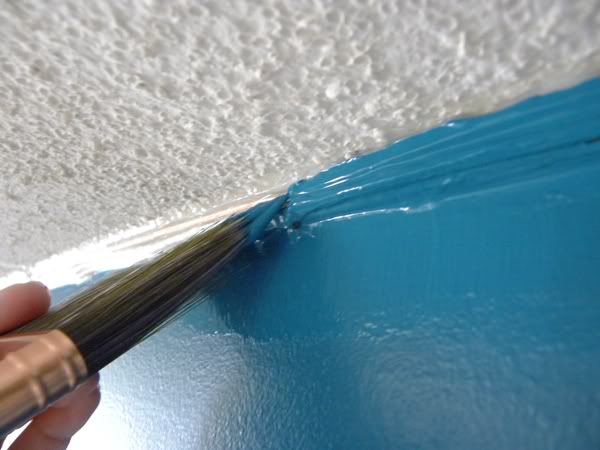
I'm getting pretty good at detail painting.
Believe it or not, painting the wires gave the wall-to-ceiling seam a crisper, more even line than before.
It's impossible to portray in pictures just HOW much work this was. We had to hold off on moving furniture back into the room, literally watching paint dry. Or in my sister's case, watching Parks and Recreation:

Notice how the loveseat is still pulled away from the wall? That corner still needed a second coat, it was endless!
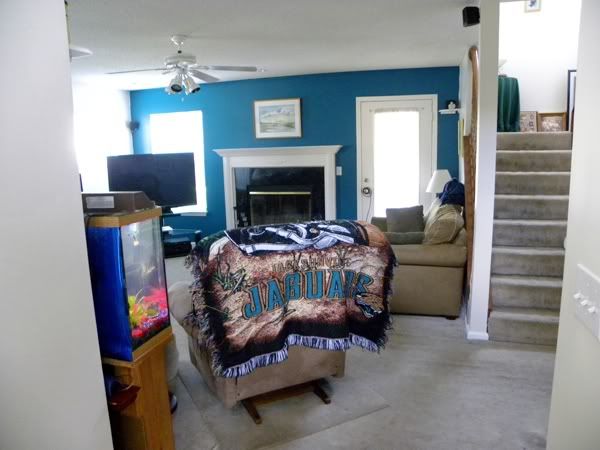
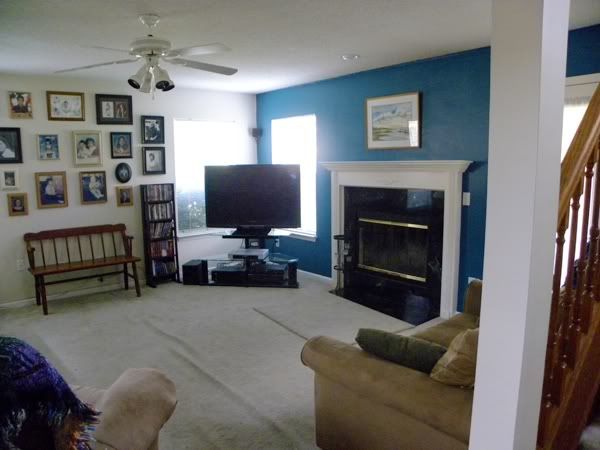
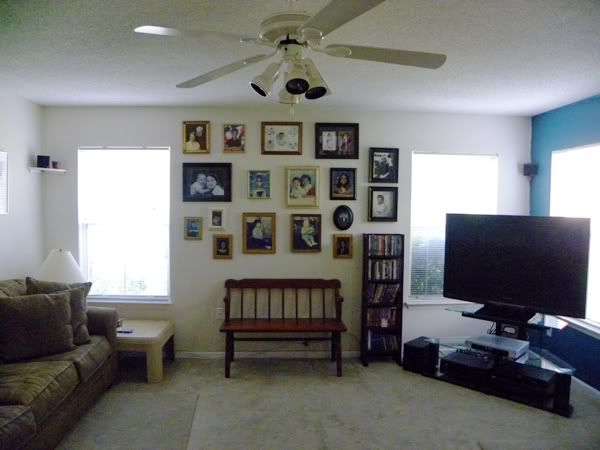
But we finally got it done, so here are the after shots:
What do you think?
I THINK IT'S AMAZING. I grew up in this room with no painted walls. I helped my mum paint the kitchen and dining room, but painting the family room seemed like a project that would never happen. I think the accent wall brings the entire room together and makes it look finished. Finally. After nineteen years.
Want some detail shots?

The cute little shelves for the surround sound. Mum has little porcelain cherubs on two of them and this small red votive on the one in the far corner.
It's not beautiful but it is well-camouflaged.

My sister is a bit of a nester and always takes over this endtable. These are her summer reading, her magazines, and her DS case.
Mum proudly showed off this lamp, a Target find, and said, "I thought the gold would play off the teal!" She's right, it looks great.

This table used to be against the wall where the bench is now. This setup is much better than the old one... where we had pillows and random tapes stacked in that corner.
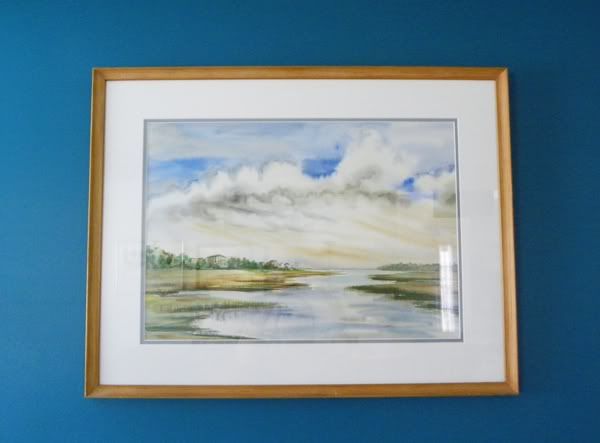
Did you know my grandmother, the one who passed away just last month, was a prominent watercolor painter? All of the non-family pictures in our family room were painted by her, including this one, my dad's favorite painting. This is of the Intracoastal Waterway.
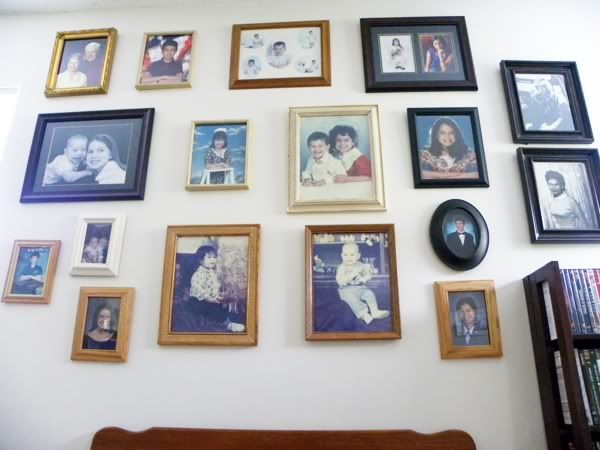
Our family photo gallery. Most of these were either stacked up under endtables or hanging in the staircase landing.
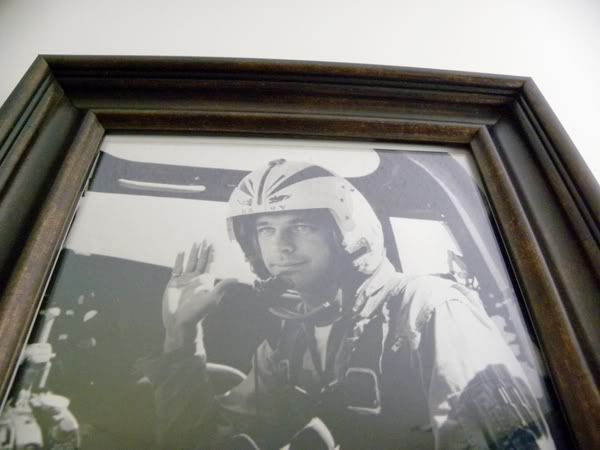
This is a really awesome photo of my mum's dad. He doesn't look much different after all these years, really.
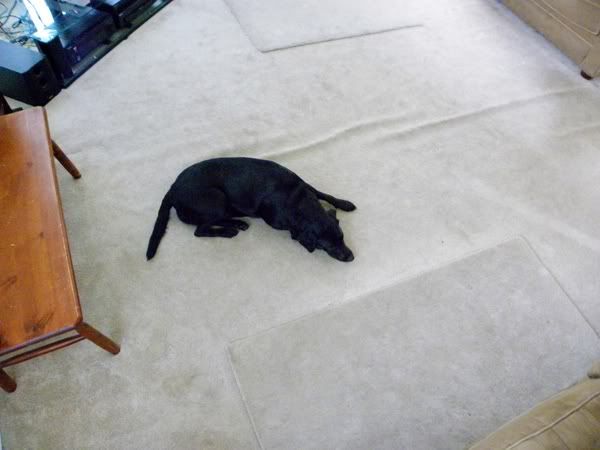
Lucy's enjoying the finished room.
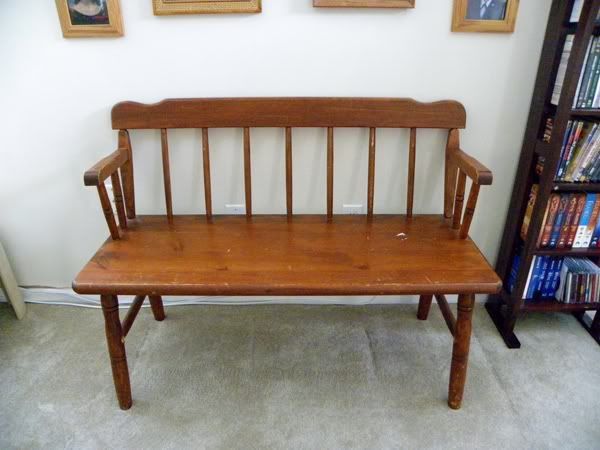
And this old bench is the subject of my next DIY post, so stay tuned for progress pics!
No comments:
Post a Comment